Have you ever thought of how to schedule calls with your clients? I’ve been using Trello for a little while now, and it has changed the way my agency runs.
If you work remotely, or even if you have one of those hipster-like offices where everyone sits at their own desk working on their own thing, scheduling client calls can be difficult. If you’re like me who works from home (and lets face it – is lazy as hell), then this article is for you!
The solution that I’m sharing with you today isn’t rocket science (if anything its more like glue) – but it’s worked amazingly well for us, and we hope it will for you too.
So instead of reading about why this Trello/Marker combo rocks, you can go sign-up for Trello and get started.

We’ve broken it down to 3 main categories:
1) Create a list for each client account
2) Assign people to the cards that are for them
3) Fill up the cards with conversations you need to have or updates that are due.
Let’s look at each of these in detail.
The beauty of this – is that if your team members are working on multiple accounts, they can just switchboards when required. To explain further – let’s say if I’m working on 4 accounts, my “Client 1” board will be where all the planning happens for Client 1 specific calls/meetings, but if we want to switch over to working on multiple accounts, we can just click the dropdown menu and switchboards as required.
For those of you who work from home like me, here’s a quick story:
In 1 month – You had to run 2 different meetups. One was for a front-end development meetup which was held at my workplace office (for obvious reasons), and the other one was a meetup for founders/entrepreneurs which was held at a coffee shop nearby. Now if this wasn’t bad enough, both these events happened to fall on days when you have something to do like going out or hosting dinner parties at our place! You can imagine how difficult it would have been if *I* needed to coordinate with all these guys. No longer is that an issue!
You can assign any card to yourself, just click the “Assign Yourself” link at the bottom of the card and it’ll show up in your Trello dashboard with all your other tasks.
1) Create a list for each client account

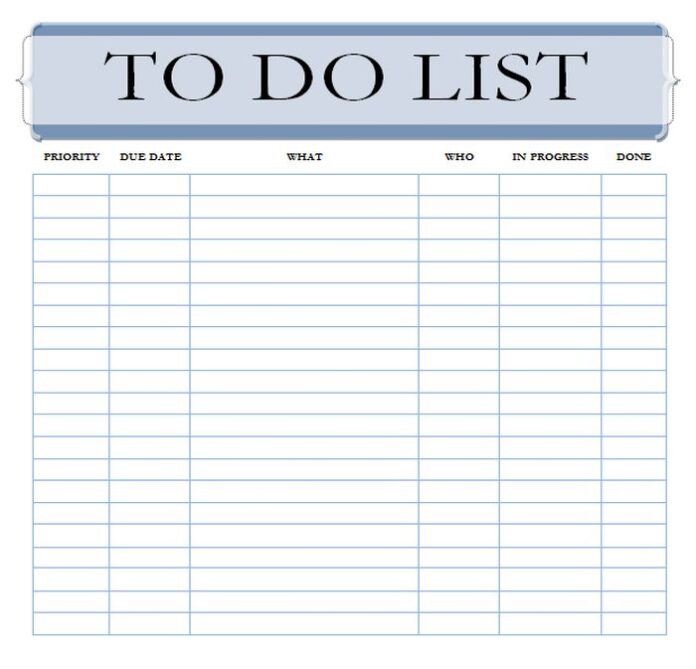
Your basic whiteboard/To-do list template will work perfectly well here – so if you’re planning on using this Trello thing, might as well get creative about how you set it up. We suggest creating lists according to client names client size or maybe both. This makes it easier when you switch boards during client meetings – everything’s neatly organized into separate lists for different accounts. We use 2 simple symbols to differentiate between small & mid-sized accounts and “large” & enterprise level accounts. If you’re doing anything similar, please do comment and share what works for you!
2) Assign people to the cards that are for them
If until now – this sounds like a normal project management board, then brace yourself with what’s coming next:
A Trello card is basically a conversation or update that needs to happen between 2 parties (client & agency). Feel free to add as many conversations as per your plans. This simple step takes care of *who* is responsible for the action items / updates assigned to them by their clients.
3) Fill up the cards with conversations you need to have or updates that are due
Now we get down to actual work.
If you want to make this even more fun, try integrating your browser with Trello via this Chrome plugin which will let you set the due date of the conversation right from within Gmail / Facebook / Twitter or wherever else you’re having that conversation. You can also comment directly on the card itself (much like email) – making it easier for others to see what needs to be done and who’s doing it without any back-and-forth emails required!
We think things are pretty much self-explanatory at this point, but please do share if there’s anything we missed out on in the comments below! This has been a lifesaver for all of us working hybrid teams – and we hope it does wonders for you too.
More tips on how to stay organized

With all the buzz going around about “Remote Work”, it seems that a majority of people still prefer meeting up face-to-face with someone before trusting them enough to do great work together over remote collaboration or scheduling tools on which you can learn more on PeachPay. We came across this detailed report from Hubspot which sheds light on why most people won’t respond to your emails and how you can nudge them into responding without sounding overly salesy or desperate for responses!
Here’s a quick summary: 1) You’ve got to respect their time – By this we mean –
1) Don’t expect people to open your emails and start replying right away.
2) Build a relationship with them before asking for something from them.
3) Stop thinking about it as an email, but as a complete communication channel that involves texts, calls & video chats.
4) You’ve got to pick up the right time – As soon as you learn when they’re most likely to respond, email them at that exact time.
5) Be precise & to the point – Paragraphs are too much for someone in between tasks or in between meetings.
6) Personalization goes a long way in making sure your message gets read!
7) Build trust by being authentic and transparent – People can tell if you’re faking it. So don’t try doing that!
8) Be grateful and polite even if they don’t respond – You’ve not lost anything, but rather gained a new connection so be gracious.
9) Don’t ask for feedback if you’re not really open to it – If all you do is complain about what can go wrong, then please keep your requests specific instead of generalizing them as ‘feedback’. *File this under “Important Life Lesson 101″*
10) Don’t over-promise & under-deliver – To make sure you maintain healthy relationships with all your clients, be upfront about everything related to the project at every stage. And never promise more than you’re capable of delivering! This can easily kill trust in your brand & agency.


