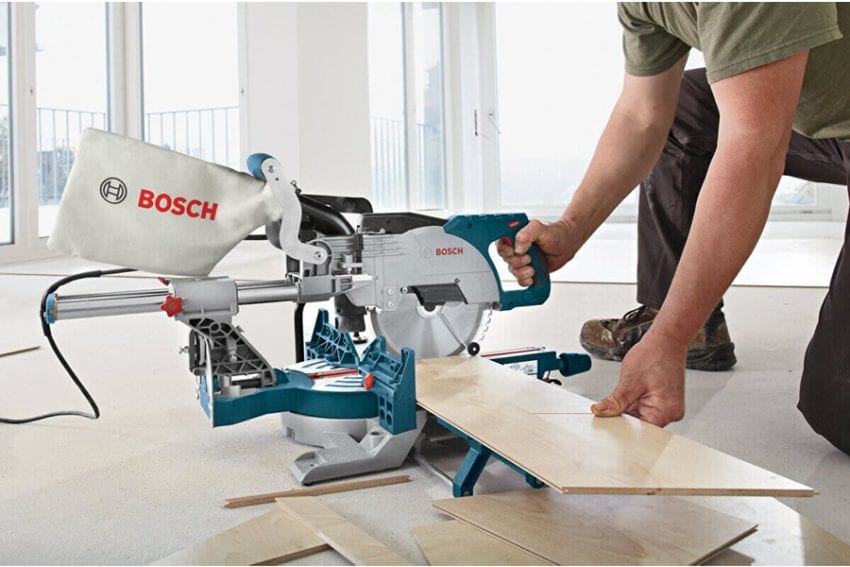
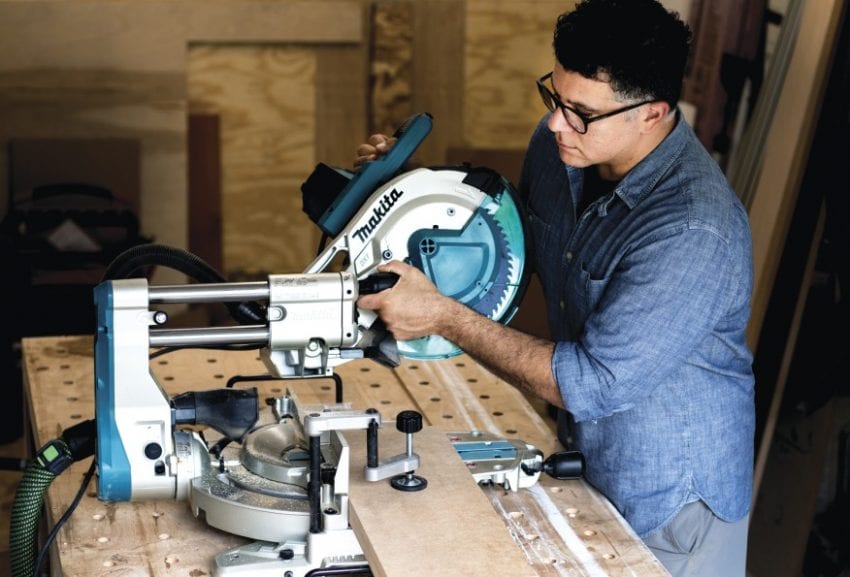
As good as you think your miter saw may be, you can still make it better. This is the part you are probably asking ‘is that even possible?’ And the answer is a solid YES. No matter how good things can be, there is always room for improvement, right? The Miter Saw Buzz unit is without a doubt no exception to this. This article is going to address how miter saw cuts can be enhanced to an even higher quality.
There are at least five things you can do to improve your miter saw cuts. They are as follows:
1. Upgrade your blade
Most miter saws come with blades that have wider teeth, and these are best suited for persons who do not mind cuts that are not smooth and clean. If you, however, desire clean cuts then upgrading your blade to one with smaller teeth is definitely something you should go for.

2. Back up your cuts
This simply means that you make another protective layer for the miter table and fence using wood. This precaution ensures that the blade does not tear out in the event that it exits the cut while still running. Tearing up of the miter blade causes it to make rough cuts.
3. Allow the miter saw to come to a complete stop before lifting it again
After making a cut, it is highly recommended that you let the miter blade stop spinning first before you can raise it again. This helps prevent scouring the ends of the piece of wood especially if you had just squared it.
4. Extend your support
In the event that you are working on a piece of wood that is larger than your table, then extending the support area is your best option. This not only ensures that your workpiece has a resting place but also helps prevent any instability of your table that might be caused by the wood’s extra weight while it is tilting.

5. Keep your cuts in check
The possibility of the miter blade deviating during a cut is inevitable especially when the piece of wood is harder than what you are used to. Such mistakes can, however, be avoided by being extra cautious or what I would call “sneaking up on your cuts.” This is whereby you first start by making a cut further from the marked line by say 1/16 of an inch. After this, you can now make the cut on the line you marked out carefully.
With the above tips, your miter cuts are bound to turn out smooth and clean, not forgetting the fact that they’ll also be precise and accurate. Using your miter saw doesn’t always have to be cumbersome. The right tips like the ones listed above should always do the trick for you. Above anything else, it is always good to make sure that all safety measures to protect yourself are in place before you even begin working with your miter saw. Observing all this will without a doubt make your work easier and fun.


