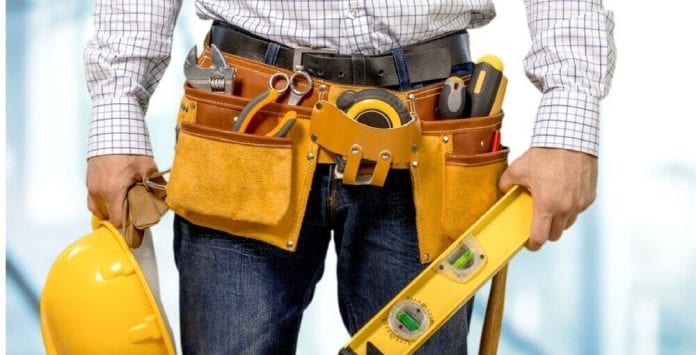
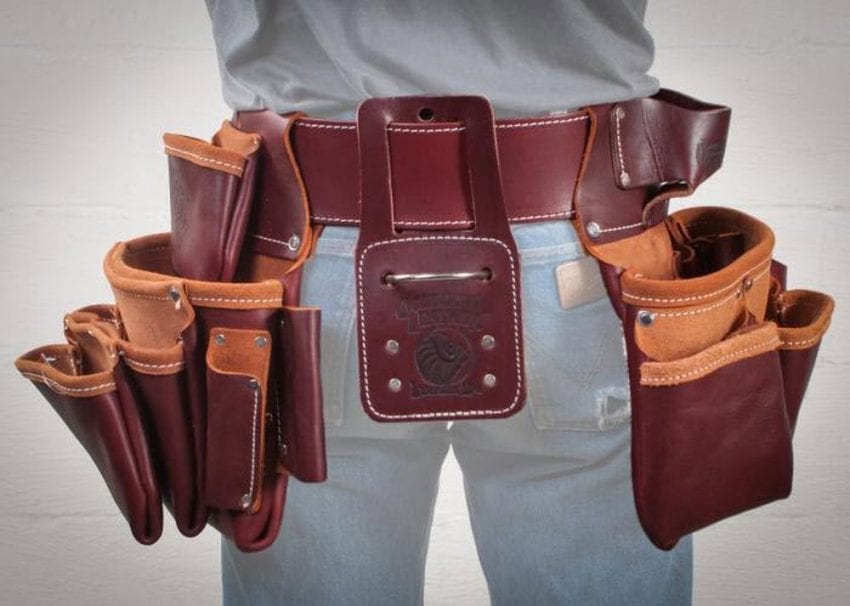
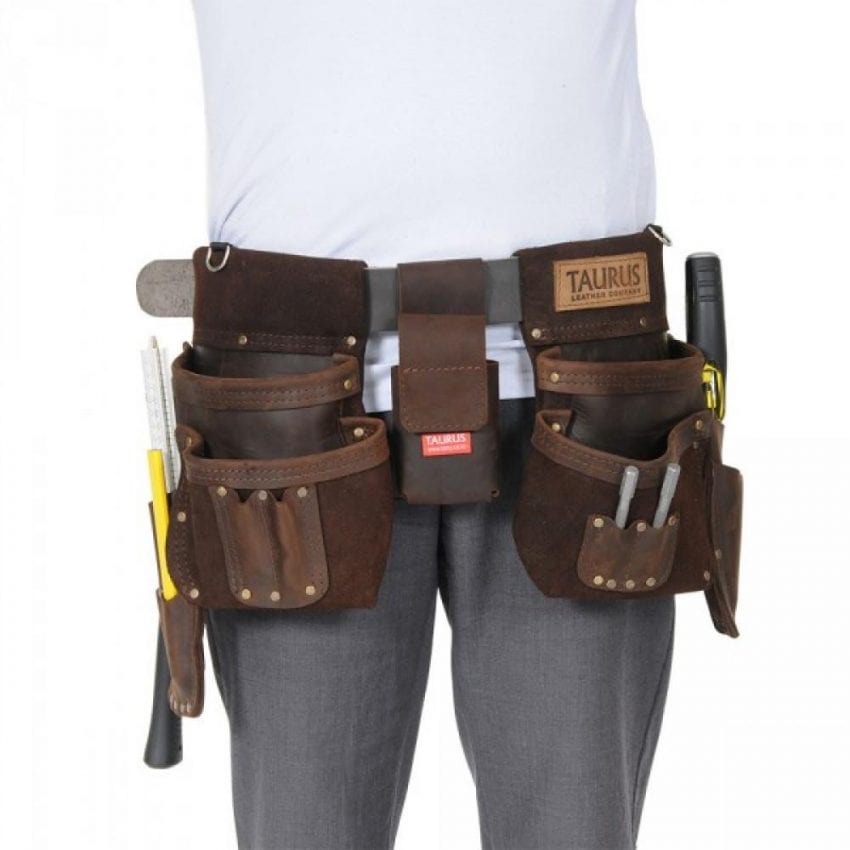
Tool belts are assembled in different sizes based on the physical properties of the tools you are to carry for your operation. A suitably designed belt gives you an opportunity to access your tools efficiently and reduces cases of prick injuries at work.
In fact, every handyman should own a tool belt for safety purposes. With the belt tied around your waste, you can easily accompany yourself with most of your tools when climbing a roof to handle some repair.
You don’t have to go down to pick the required tool and climb back again. You have everything with you everywhere you go. As you can see, belts can save time and build your focus on handwork.
Tool belts are available in different design, and materials. However, what matters is to own a belt of good quality that is strong enough to handle all your tool weight. Waistbands are made in such a way that they are ever open to ease the access to tools without whirling, especially in risky positions.
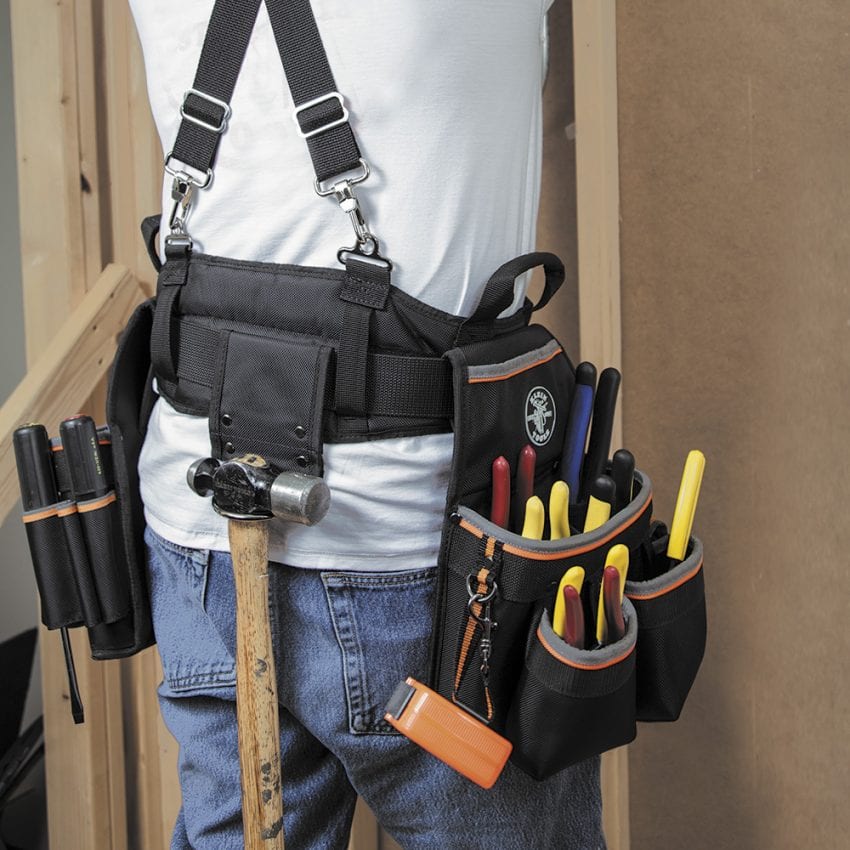
Ideally, belts are made of strong materials such as thick leather that guarantee a long lifespan. As a handyman, you should organize your tools appropriately to avoid scratches on the belt.
Having your tools around your waist frees your hand for other activities when on top of the ladder. Interestingly enough, there is no boundary for using your tool belt.
Waistband bags can be used by steelworkers, electricians, plumbers, carpenters, and other craft engineering works among others. Even more, you might need a tool belt for your home repair works.
Most people fail to use this belt because they haven’t heard about it, or they don’t know how to make it.
Procedure to Make Your Own Tool Belt
Step 1: Identify the tools and materials required for making the tool belt. This project will require you to visit a store and purchase materials such as belts, grommets, S-hooks, eye bolt, or any other stuff that may be useful for this work. According to DrillDriver.com, you will need to access drill, drill bit, utility knife, and hammer as your working tool.
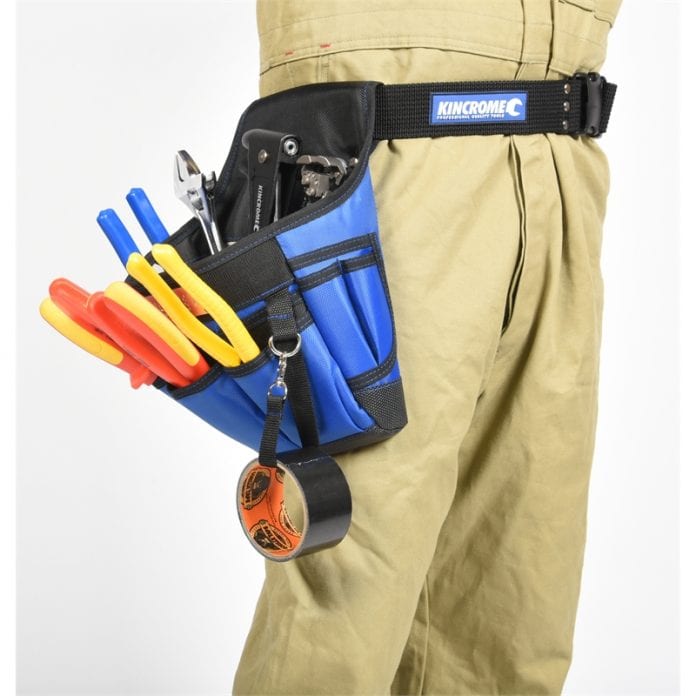
For your safety and the sake of efficiency in the workplace, you should choose a strong leathered belt that will hold your heavy tools without breaking.
Step 2: Accurately drill your belts and fix the grommets to start shaping your bag. You should confirm that your belts are congruent to the grommets.
Make sure your belt is spacious enough to match the fitting of grommets and remains with space on the sides for the hanging of your tools. Depending on how you want your tool belt to be, you may choose different sizes of the belts and that of the grommets.
For instance, you can use a belt measuring 33.7mm wide and a grommet of 12.7 diameters, sparing 9.5mm space on the sides of the leather belt. This is why it is advisable to be accurate and attentive.
Step 3: Hit grommets to fit into the hole you have just drilled on your belts. It is good to understand that grommets are meant to secure the edges of the grilled area from tearing or denting.
Grommets are products of plastics, fabric, or metals. Even grommets attached to old clothes are still strong to handle this work, but you can buy more from the garment store.
They are very strong and sandwiched to fit their purpose. Thrust the base of your grommet through the unique gap available on the material, and then place the top cover to sandwich it.
Put your sandwiched grommet on a hard surface and hammer it repeatedly¸ shattering the grommet and lock it there almost permanently.
Step 4: Locate and drill more spaces on the belt suitable to hold different tools. Create different hanging points using an eye bolt. Drill the openings relatively smaller as compared to the diameter drifts of the eye bolt; this will enable it to clutch into space and form a solid anchor point.
After you have drilled holes on the eye bolt, place the threaded end of eye bolt using belt fasteners. Lastly, fasten the eye bolt using a screwdriver.
Step 5: Attach S-hooks and begin hanging your tools. You should use thin S-hooks to enable you to hang two tools on one grommet. This will make your tool belt to store as many tools as possible.
However, the belt must be able to support the weight of your tools hanged on your waist. If the belt is strong, you can carry as many tools as your work may require. The types of tools you hang on your belt depend on the size of the tool belt.
Noticeably, even small tool belts can carry more tools so long as the grommets are many and fixed properly.
Caution while making your tool belt
- It is common for workers to suffer pricks and cuts when exposed to sharp objects. It could be that your tools are not properly positioned. This is why it is advisable to organize your workspace and know where you have placed all the dangerous tools.
The sharp tools you may use for this project ranges from drillers, scissors, razors, saws, and knives to pruners, chisels, and snips. These tools are important, but hazardous when not handled with care.
You should review the manufacturer guideline to learn the proper handling of such tools. Wearing protective accessories is optional, but very important for your life. You may need to put on gloves, goggles, and protective garment.
- The appropriate way to work with your tools is to be attentive and focus on your handwork without any interruption. If it is drilling, let your eyes witness your work until you finish avoiding harming your hand.
Even more, do not apply extra force when hammering your grommet since it can slip and prick your eye. Keep in mind that the surface you may have placed your grommet for sandwiching can be slippery.
- Handle your tools with care especially when transporting tools such as drill bit, and utility knife. The sharp edge of your tool should face away from your body.
When climbing a ladder to test your tool belt, you must make sure that both hands are free to grasp the ladder properly. Also, never throw a sharp tool to your fellow handyman, as this may cause grave harm. Tools should never be flung from one person to another. This advice is not only relevant when making a tool belt but in your general life activities.
- Make sure you store the sharp tools on their protective sheaths with the blades fully covered to avoid unpredictable accidents. Alternatively, they can be secured in the store with their blades facing down. You should always remember that safety is a must thing at your workplace.
Whether you are a carpenter or an electrician, handling your tools and carrying out the repair at the same time is a tiresome task.
When you hang your important tools on the tool belt, they become easy to access. Keep in mind that some tools you will be carrying are prickly and sharp. A carelessly handled tool belt can endanger your life during handy activities.
