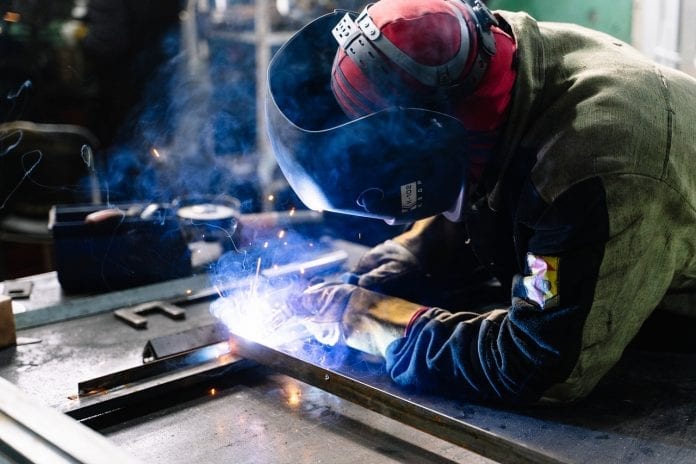
Welding is a pretty important part of the agriculture industry. As a farmer, you will have to use your welding skills from time to time in order to repair your metal equipment. It is crucial that your welding skills are up to the mark so that you are able to create welds that are durable and efficient. Here are some tips that can help you achieve that:
-
Clean The Metals Properly
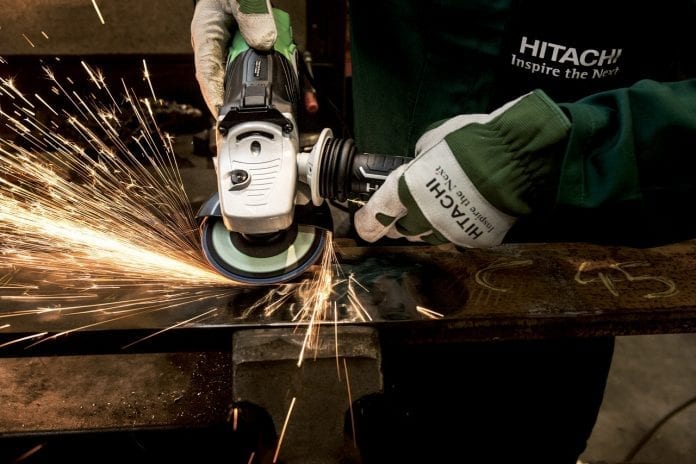
It is understandable that you won’t have much time in hand to give a proper cleaning to the metal that you are about to weld because you might be in the middle of other urgent matters. However, you must try and clean the surface enough to remove any bigger contaminants like dust particles or rust. Cleaning is essential even when you are overhauling the parts of coil welding.
If you fail to do this, the welding will be of little use as the contaminant will reduce the weld’s integrity and you will have to weld the metals again after a short period of time. This will take more of your time.
So, ensure that before you begin welding, you have a clean metal surface to work with. Besides cleaning, you can also slow down the travel speed of the weld. This will prevent gas bubbles from getting trapped inside the weld and developing cracks there.
2. Strictly Follow The Basic Rules
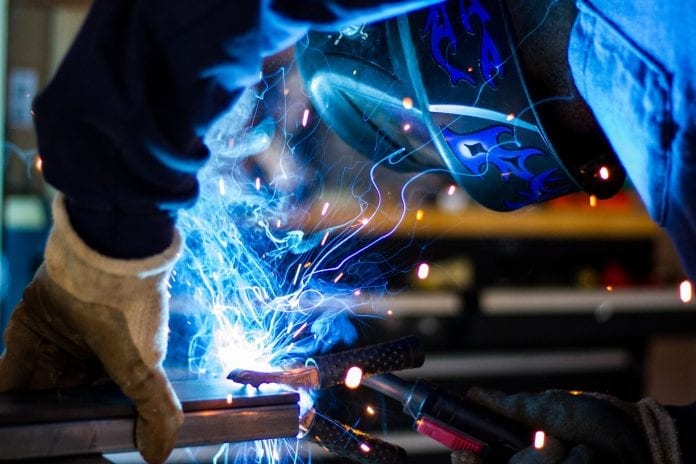
When you are welding, it is essential to ensure that the weld is a lasting one and you won’t have to get back to the process after a short period of time. There are some basic aspects that you need to follow in order to make sure that your weld is a durable one. These include:
If you are welding with a stick or flux-core wire welder, you must drag the rod. As Leisner says ‘If it produces slag, you drag.’
There are different angles you need to maintain for different weldings. If stick welding, the lead angle should be about 20-30 degrees in the direction of the drag. When tee welding, the rod or wire must be held between the two metal pieces at a 45-degree angle. When wire welding, remember to hold the gun at an angle between 10-15 degrees in the direction where you are pushing the weld.
To ensure that the arc remains within a third of the weld pool, you must adjust your travel speed. In any case, the length of the arc must not exceed the diameter of the core of the electrode. With stick welding, the distance should be of about ⅛ inches between the workpiece and the tip of the rod. For wire welding, the work distance should be maintained to ⅜ -½ inch.
3. Welding Aluminum
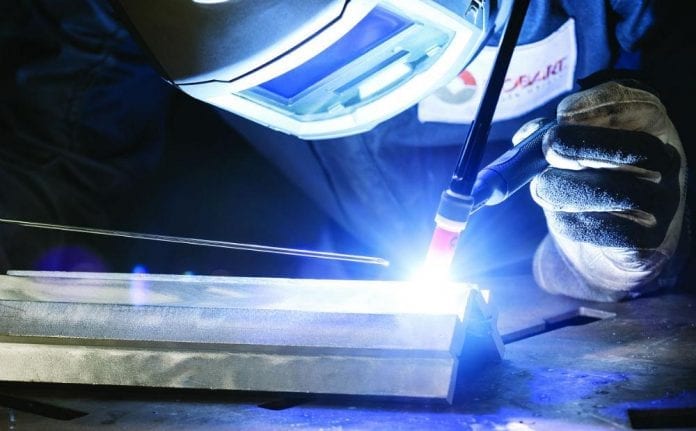
More and more agricultural equipment is using aluminum parts in them. Unlike other cases, where a simple cleaning to ensure that there are no particles like dirt or rust on the metal would do, for aluminum, you will require thorough cleaning and repair before welding it. With a wire welder at your disposal, it won’t be that difficult to get a hang of the process.
You must remember to purchase U-groove drive rolls that won’t crush the wire, instead, they’d simply support it. The Aluminum wires you use should be about 3/16 or ⅙ inches in diameter as you’ll find it much easier to feed them to the gun cable. You should use some organic solvent in order to remove any dust, grease, manure, or oil from the aluminum surface.
4. Understand the reason behind the cracks
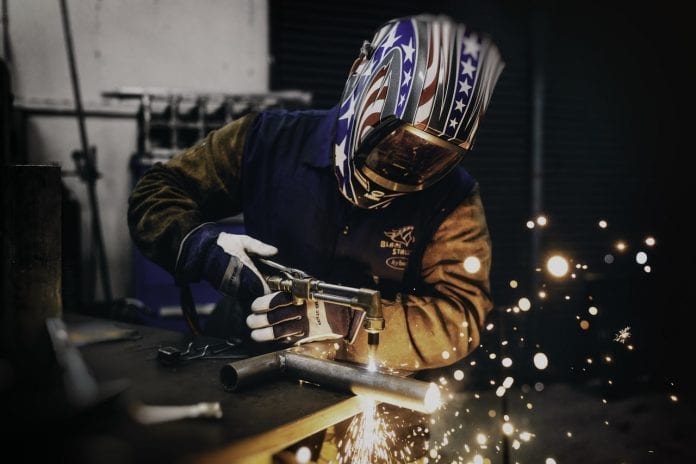
Welds can crack for many reasons. Here are some common reasons why it cracks mentioned by one of the top seam welding repair companies, Melting Together.
- Prior to the welding, if you forget to grind the cracks out to their bottom
- When you form undersize beads.
- when you form concave or hollow beads which further cracks the middle of the bead.
- When you don’t clean a repair properly.
- If you fail to use low-hydrogen electrodes while repairing hard-to-weld steels
- When you don’t fill the craters at the end of the weld
- When you fail to properly reinforce a weld repair
- If you forget to lay down the first mead on multiple pass welds. This usually results in cracks until the later beads join for support.
Further, you must keep in mind that rigid or hard parts are usually more prone to cracks than the gentle ones. So, with these parts, weld on the unrestrained end and make sure you leave a gap between plates. This will boost shrinkage movement as and when the weld cools.
5. Know When To Reinforce
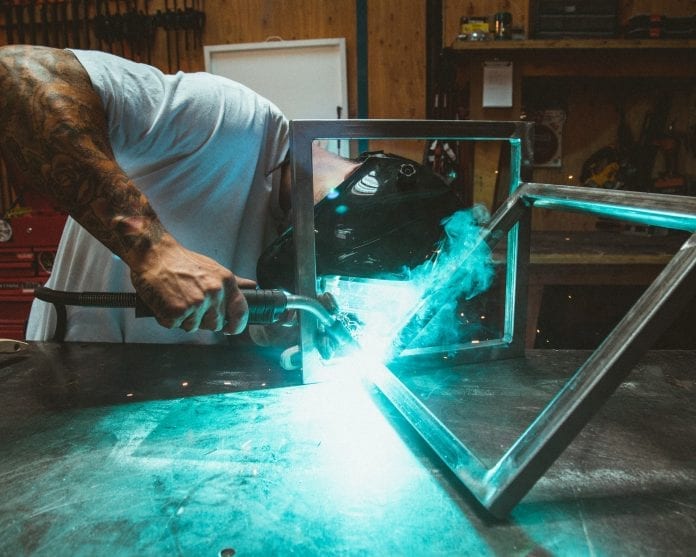
While reinforcing won’t be required in all cases, it does become necessary when there are cracks on the welding surface which would make it difficult for you to prepare the metal for welding. You must also reinforce if a particular piece of equipment has been damaged at the same point more than once.
Make sure that you reinforce areas like the hinge on a folding implement as these are high-pressure areas. The edges should be leveled at a 30-degree angle to where the old metal comes in contact with the new metal so that you can provide some welding penetration.
6. Welding out of position
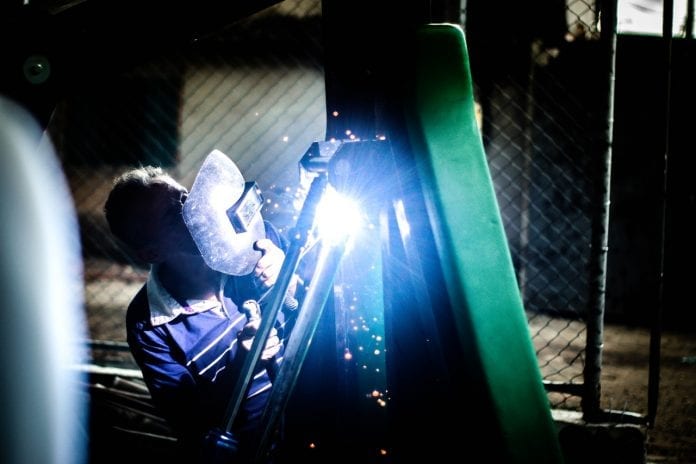
When you are working out opposite to gravity, it can put you in a very difficult position. Thus, to balance its effects, use less voltage and lower wire feed speed. Reverse the polarity and concentrate the heat at the electrode tip, it will help you do cooler welding. This further cools the weld puddle faster and prevents dripping which allows you to weld out of position.
When you are working on horizontal welds, drop your angle to 15 degrees or 0 degrees. For vertical welds, you must work in a downward motion on a 3/16 inch steel and in an upward motion on a 1/16 inch steel. For overhead welds, it’s always best to work in a circular motion so that it can prevent the puddle from spilling.
Next time you find yourself having to weld some piece of equipment, make sure that you use these tips to create a high-quality weld.
