Revving engines, spinning wheels, the feel of the open road—these are the hallmarks of a well-maintained vehicle. Regular maintenance is key to keeping your car or truck performing at its peak, and at the heart of this routine is the crucial task of an oil change.
This simple yet essential process ensures that your vehicle’s engine remains in tip-top condition, enabling smooth rides and prolonging the life of your vehicle.
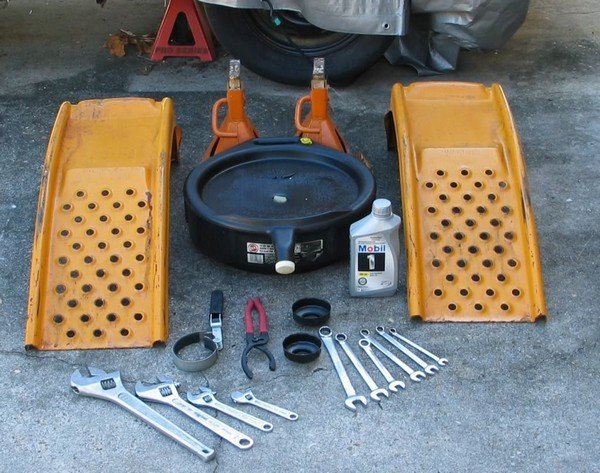
To conduct an oil change efficiently, having the right set of tools is non-negotiable. Armed with the appropriate equipment, even a novice can save on recurring oil change cost by turning this professional service into a DIY task.
This article aims to guide you through the tools necessary for a successful and smooth oil change, contributing to efficient vehicle maintenance and helping you avoid those trips to the mechanic.
Why Do You Need an Oil Change?
Oil serves as the lifeblood of your vehicle’s engine, playing a vital role in its overall performance and longevity. Oil functions as a lubricant agent, minimizing the resistance between mobile components and averting excessive deterioration.
Additionally, oil aids in the smooth operation of the engine, ensuring optimal performance and preventing unnecessary strain on its components.
Over time, however, oil becomes contaminated with dirt, debris, and engine byproducts, losing its effectiveness. This can lead to detrimental effects on the engine, including increased friction, reduced lubrication, and impaired heat transfer.
As a result, the engine may experience decreased performance, decreased fuel efficiency, and even potential damage to its components.
To maintain optimal engine health, regular oil changes are essential. The recommended frequency varies depending on factors such as the type of oil used, driving conditions, and the vehicle’s manufacturer guidelines.
As a general rule of thumb, it is advisable to change the oil every 3,000 to 5,000 miles or every 3 to 6 months. However, newer vehicles equipped with synthetic oils may have extended intervals of 7,500 to 10,000 miles.
Essential Tools for an Oil Change
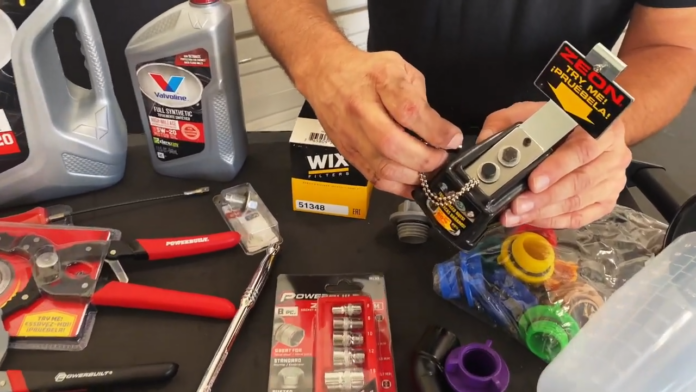
Performing an oil change requires a specific set of tools to ensure a smooth and efficient process. Equipping yourself with these essential tools will not only save you time but also make the task easier and more enjoyable.
So, let’s take a closer look at each tool you’ll need for a successful oil change:
Oil Filter Wrench
This specialized wrench allows you to remove the old oil filter easily. It provides a secure grip and enables proper tightening of the new filter during installation.
Drain Pan
A drain pan is essential for catching the old oil as it drains from the engine. It prevents messy spills and helps with environmentally friendly disposal.
Funnel
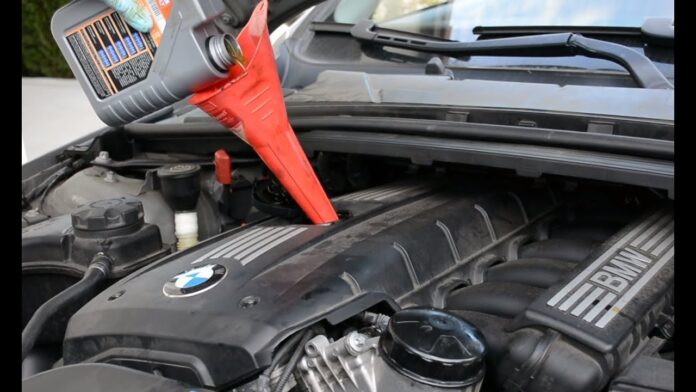
A funnel is a practical tool that facilitates pouring new oil into the engine without any spills or mess. It ensures precise and clean oil refilling.
Jack Stands or Ramps
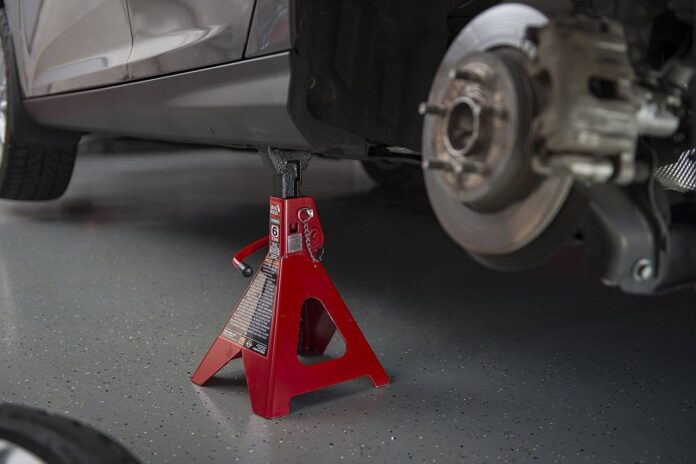
To access the underside of your vehicle for oil draining and filter replacement, you’ll need jack stands or ramps. These provide a safe and stable platform, elevating your vehicle off the ground.
Socket Set
A socket set is invaluable for removing the oil drain plug. It allows you to fit the appropriate socket size onto the plug, providing the necessary leverage to loosen and tighten it.
Oil Filter
The oil filter captures impurities and contaminants present in the oil. It is crucial to replace the old filter with a new one during each oil change to maintain optimal engine performance.
New Oil
Selecting the correct type and grade of oil for your vehicle is essential. Refer to your vehicle’s owner’s manual or consult with a professional to ensure you choose the appropriate oil for your engine.
Rags or Shop Towels
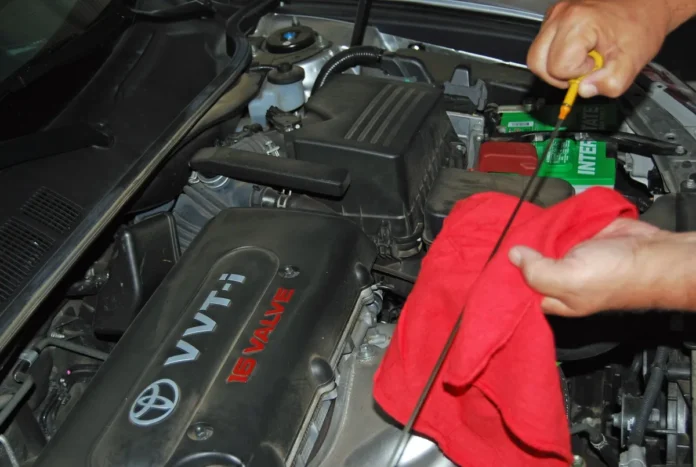
Keeping rags or shop towels handy is vital for wiping up any spills or drips that may occur during the oil change process. They help maintain cleanliness and prevent oil from spreading.
Gloves and Safety Glasses
Protecting your hands with gloves and your eyes with safety glasses is essential for personal safety. Gloves shield your skin from coming into direct contact with oil and prevent burns or irritations. Safety glasses protect your eyes from potential splashes or debris.
By equipping yourself with these essential tools, you’ll be well-prepared to tackle your oil change confidently.
Remember, investing in these tools is a wise decision as they can be reused for future oil changes, reducing the need for professional assistance and saving you both time and money.
Steps to Change the Oil

Changing your vehicle’s oil may seem daunting, but with the right tools and a step-by-step approach, it becomes a straightforward process.
Begin by parking on a level surface, gathering the necessary tools and materials, and warming up the engine. Locate the oil drain plug, place the drain pan underneath, and remove the plug to drain the old oil completely.
Then, remove the old oil filter using the oil filter wrench, apply a small amount of oil to the new filter’s gasket, and install the new filter. Replace the drain plug securely, and use the funnel to add the recommended amount of new oil.
Finally, start the engine briefly to circulate the new oil, check the oil level, and dispose of the old oil responsibly.
Conclusion
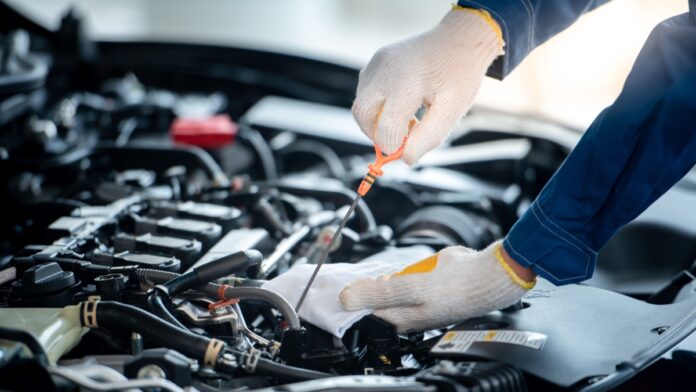
Regularly changing your vehicle’s oil is vital for maintaining its performance and longevity. By following the step-by-step process and utilizing the right tools, you can confidently perform this essential maintenance task.
Not only does changing the oil improve engine efficiency and prevent damage, but it also saves you money by reducing reliance on professional services. Embracing DIY maintenance empowers you to take control of your vehicle’s well-being and ensures that it operates smoothly for years to come.
So, equip yourself with the necessary tools, follow the recommended intervals, and enjoy the benefits of a well-maintained engine.
